2D Floor Plan Generator for a Small Home Office
A 2D floor plan generator for a small home office helps you turn a rough idea into a to-scale layout before you buy a single desk. This guide walks you through measuring the room, zoning the space, placing furniture and checking the result, with a practical workflow you can use in Lyxvo AI.
Why plan a small home office in 2D first
A small home office has little room for mistakes. A desk placed against the wrong wall can block a window, a chair that needs 90 cm to pull out can jam against a door, and a bookshelf that looks fine in your head may turn the room into a corridor. A flat, to-scale drawing lets you test these decisions on screen, where moving a desk costs nothing.
A 2D floor plan shows walls, doors, windows and furniture from above. It is not a 3D render, and that is an advantage here: you can read distances, check clearances and compare two layouts side by side in a minute.
Step 1: Measure the room accurately
Before you open any tool, measure carefully. Small errors compound quickly in a tight space.
- Measure each wall wall-to-wall, not from the skirting board in some places and the corner in others.
- Note door swing direction and width, window positions and sill heights.
- Mark fixed items: radiators, sockets, light switches, ceiling light position, air vents.
- Measure ceiling height if you plan shelving or a wall-mounted monitor arm.
Sketch the room on paper with these numbers. Even a rough sketch makes the digital version faster to build.
Step 2: Zone the space by function
A home office usually needs only three zones, even in a small room:
- Work zone: desk, chair and monitor, with the screen facing away from the main window to limit glare.
- Storage zone: shelves, a filing cabinet or a cupboard, placed where you reach without standing up.
- Movement zone: the clear path from the door to the desk and from the desk to the window or exit.
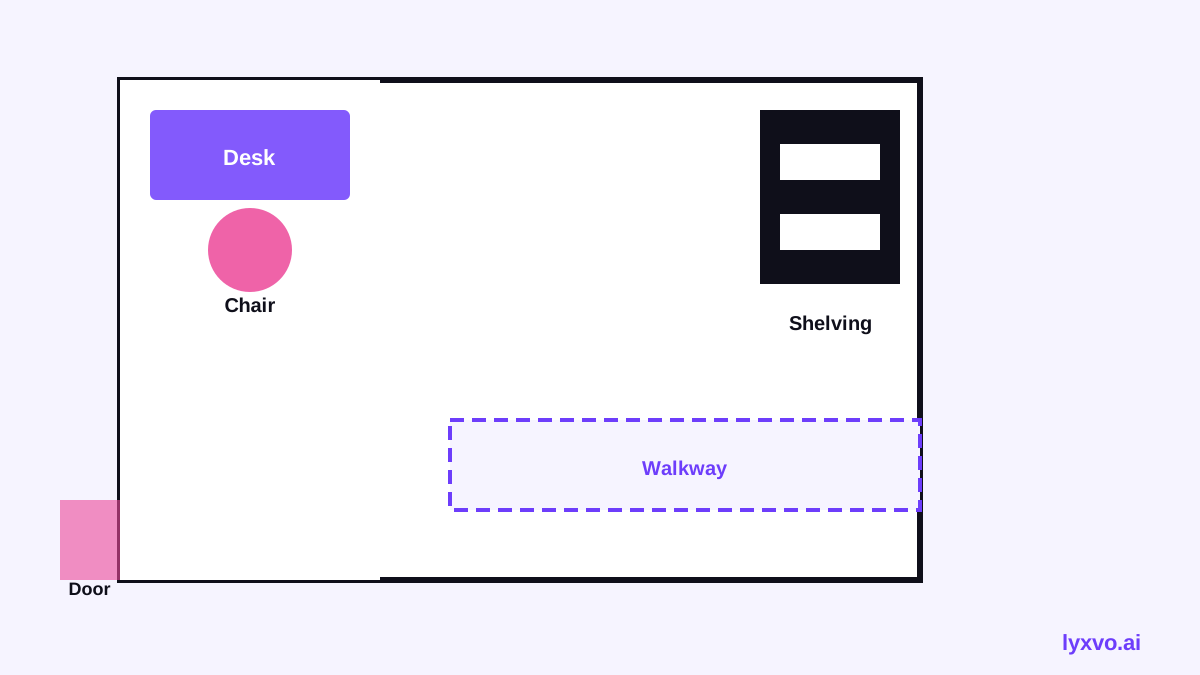
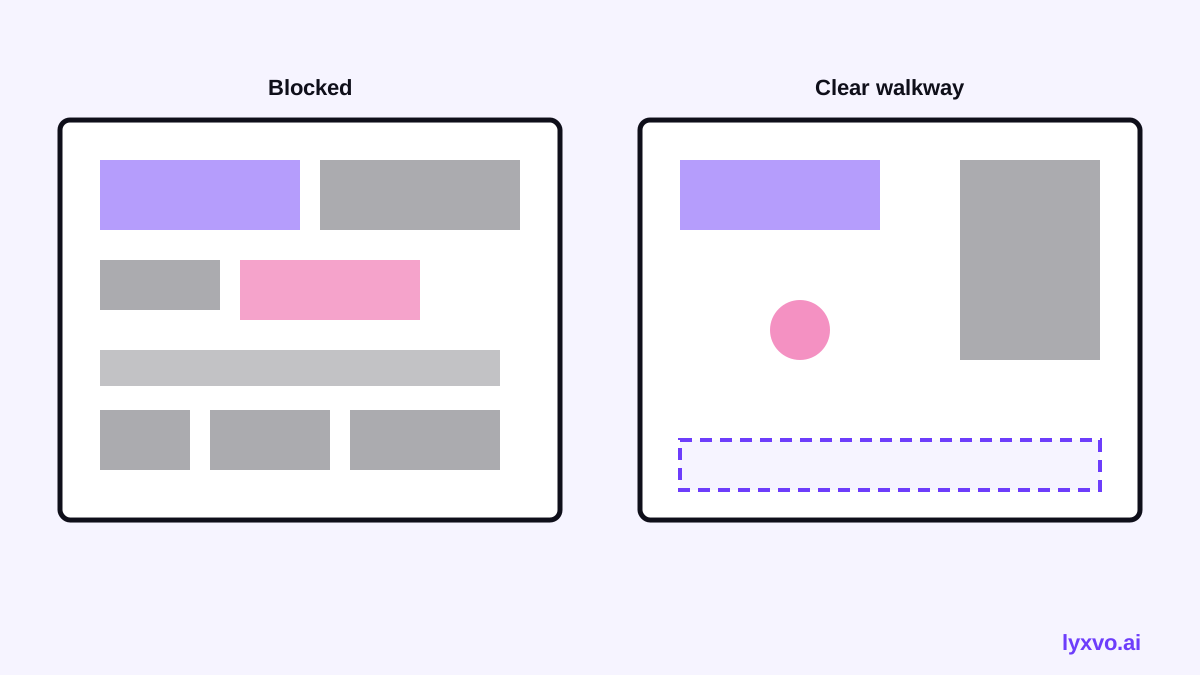
Keep the movement zone clear of any drawer or chair swing. A common planning rule is to leave roughly 90 cm of walkway, though you should adjust this to your own room and how you move.
Step 3: Choose furniture sizes and clearances
| Item | Typical planning size | Clearance to allow |
|---|---|---|
| Desk (single) | 120 x 60 cm | 60 cm behind for chair |
| Office chair | about 60 x 60 cm footprint | 60-90 cm to pull out |
| Two-drawer cabinet | 40 x 60 cm | Drawer opening depth |
| Bookshelf | 80 x 30 cm | Front access for books |
These are planning sizes to get you started. Replace them with the dimensions of the exact products you are considering, because a desk that is 140 cm wide or a chair with large armrests changes the layout.
Step 4: Build the floor plan
With your measurements and furniture sizes ready, draw the room to scale and place the elements. Work in this order: walls and openings first, then fixed fixtures, then the desk, then storage, and finally the chair and any decorative items. Placing the desk early often forces better decisions about everything else.
How to make this in Lyxvo AI
Lyxvo AI's interior design tools can create designs from scratch or from a photo of your room, including 2D floor plans and a decor shopping list. Open the AI interior design page to start, enter your room dimensions, and describe the office you need, such as "small home office, one desk, storage shelves, clear walkway to the door." You can then edit the result directly in the Canva-style editor by moving elements, changing colors or swapping items, and export the plan as a PNG at real size for printing or sharing. Lyxvo AI creates designs and plans rather than photo renders, so treat the output as a planning drawing and confirm every critical dimension against your own measurements before you buy.
If you also want a visual mood board for the finished room, you can use the free design templates as a starting point for the look and feel.
Step 5: Check the layout against real use
A plan that looks tidy can still fail in daily life. Test it with these checks:
- Can you open the door fully without hitting the desk or chair?
- Can you pull the chair out and stand up without bumping a wall or cabinet?
- Is the monitor free of glare from the window at your working hours?
- Can you reach the storage you use most without leaving your seat?
- Is there a power socket within reach of the desk, and do the cables route cleanly?
If any answer is no, move one element and check again. Two or three variations usually reveal the best option.
Common mistakes to avoid
- Ignoring door swing. A door that opens into the desk zone is one of the most frequent problems in small rooms.
- Forgetting the chair. Many people draw the desk and forget that the chair needs space behind it.
- Placing the desk under a low window where the view is good but the cold draught or glare is poor.
- Using estimated sizes instead of the real product dimensions.
- Overfilling the room. If the walkway disappears, remove a piece of furniture rather than squeezing it in.
Practical tips for very small rooms
- Use wall-mounted shelves instead of floor units to free up floor area.
- Choose a desk with a narrow depth, or a wall-mounted fold-down desk for occasional use.
- Place the desk perpendicular to the window to balance light and glare.
- Keep one wall partly free to reduce a boxed-in feeling.
Next steps
Once your 2D plan works on paper, you can move on to visual decisions such as colors, lighting and decor. Start with a clear, measured layout, check it against daily tasks, and only then choose the finishing touches. For more planning ideas, browse the Lyxvo AI blog, and when you are ready to build your plan, open the AI interior design tool and start with your own room measurements.
Try it in Lyxvo AI
Describe it in your own words and the design agent starts on the right flow. Free to start.
Related tool: AI interior design for any room