AI Drink Menu Design for Your Cocktail Bar
An AI drink menu design for a cocktail bar can take you from a blank page to a print-ready menu in an afternoon, if you know what to ask for. This guide walks through the structure a good cocktail menu needs, the specs your printer will expect, and how to build it in Lyxvo AI.
Why a cocktail menu needs a clear structure
A cocktail menu is read fast, often by people who are already deciding over a drink. Guests scan for three things: what sounds good, what it costs, and what it contains. If the layout makes them hunt, they order the first familiar name they see.
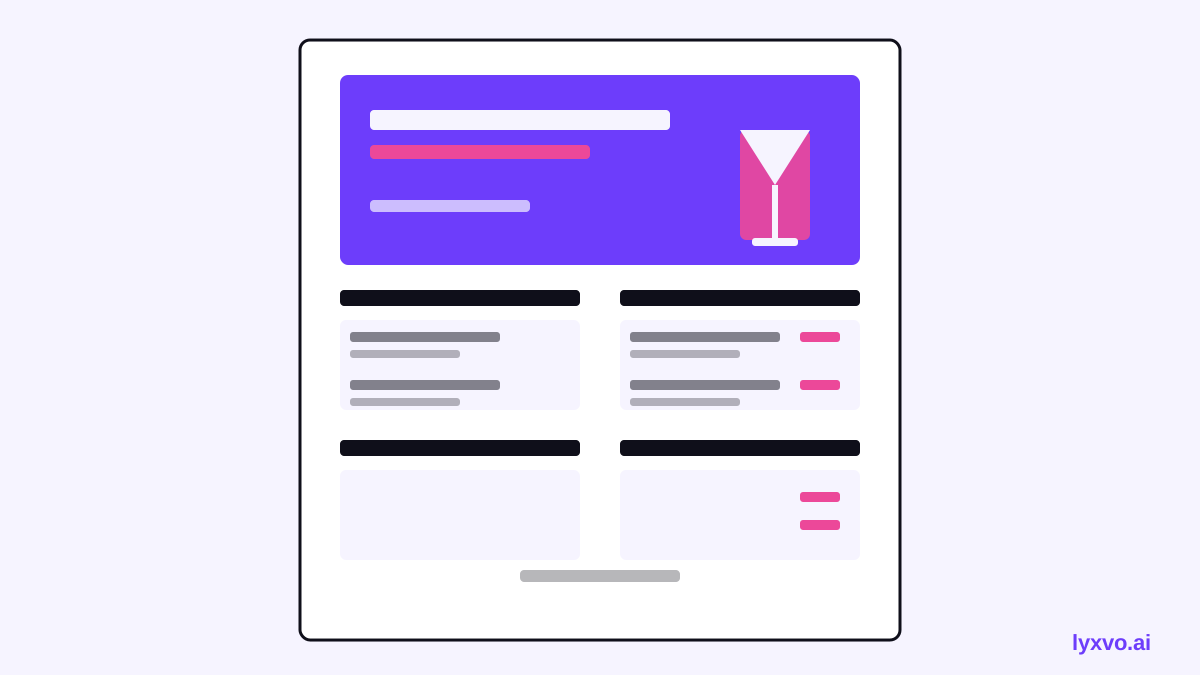
The best cocktail menus are organized by how people choose, not by how the bar makes drinks. Most work well with these sections:
- Signature cocktails - three to six house drinks with short, evocative descriptions
- Classics - familiar drinks made to your standard
- Low-ABV or zero-proof - an increasingly common section that keeps non-drinkers engaged
- Beer, wine and spirits - short lists or a single line each
- Snacks - optional, but a strong upsell when placed near the drinks
Keep descriptions to one line where possible: base spirit, one or two flavor notes, and one texture or garnish cue. Long tasting notes slow people down.
Decide the format before you design
Before opening any design tool, settle the basics. Changing size or orientation late costs time and often breaks the layout.
| Format | Typical size | Best for |
|---|---|---|
| Single-page A4 | 210 x 297 mm | Small bars, takeaway boards |
| A5 folded or flat | 148 x 210 mm | Table menus, tight budgets |
| DL tri-fold | 99 x 210 mm (each panel) | Dense menus with many sections |
| A3 or tabloid poster | 297 x 420 mm | Wall menus and specials boards |
| Digital screen | 1920 x 1080 px | Behind-the-bar displays |
For anything printed, design at 300 dpi and include a 3 mm bleed if your printer requires it. Keep key text at least 5 mm from the trim edge so it is not cut off.
Step-by-step: building a cocktail menu
1. Write your copy first
Draft names, prices and one-line descriptions in a spreadsheet. Check each drink's ingredients, measures and allergens against your recipe card. Accuracy here protects you and your guests.
2. Set a visual direction
Choose two or three colors, one display typeface for drink names and one readable body font. Dark backgrounds with warm accents suit night-time bars; light, airy palettes suit daytime cafés-bars. Use the same palette across the menu, social posts and coasters so the brand feels consistent.
3. Lay out the sections
Give signature drinks the most space: a larger name, a short description and a small illustration or photo. Classics can share a tighter grid. Keep prices right-aligned or in a consistent column so the eye can scan down them.
4. Add imagery with restraint
One strong image per section is usually enough. Ingredient illustrations (a lime wedge, a sprig of mint, a coupe glass) add atmosphere without clutter.
5. Check legibility
View the design at arm's length and on a phone. If the drink names are not clear at a glance, increase their size or reduce the number of drinks per page.
Designing it in Lyxvo AI
Lyxvo AI's design agent can plan and build a menu from your brief, then let you refine it in a Canva-style editor. You can edit text, swap photos and change colors directly.
- Start with a brief. Describe the bar's mood, the menu sections and the format you need, for example an A4 single-page menu with three signature cocktails, a classics list and a zero-proof section.
- Open the flyer or poster format in the studio, or browse ready-made layouts in free design templates.
- Paste your copy into the text fields and adjust hierarchy so signature drinks stand out.
- Set colors and fonts to match your bar's brand, then save them so later menus stay consistent.
- Export as PNG at real size for print review, or as PDF-ready artwork for your printer. Check that the output matches the dimensions you chose at the start.
If you also want matching promotional content, the AI menu maker and AI poster maker pages cover related formats, and the AI flyer maker suits event nights.
Using AI for social posts from the same menu
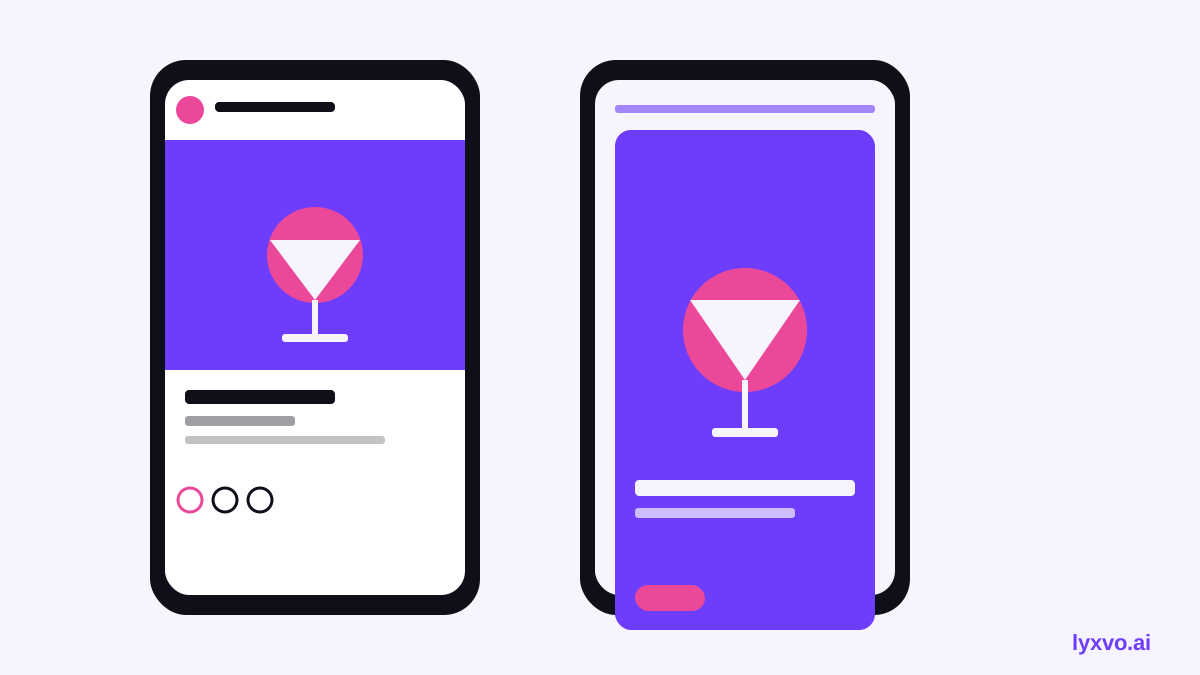
Once the menu is final, reuse its visuals for announcements. A new signature drink can become an Instagram post or a story. Keep the drink name, price and palette identical to the printed menu so guests recognize it immediately.
Printing and proofing checklist
- Confirm the trim size with your printer before finalizing
- Use 300 dpi for raster images and vector logos where possible
- Include 3 mm bleed and keep text clear of the trim
- Proof a physical sample for color, especially dark backgrounds
- Check spelling, measures and allergen notes one final time
- Date the menu or add a version code so you can replace it cleanly
Printing prices and paper options change, so check current rates with your print shop rather than relying on older quotes.
Keeping the menu current
Cocktail menus change with seasons, stock and staff. Build your master file so that swapping one drink does not mean redesigning the whole layout. Keep a separate sheet of recipes and prices, and rebuild the menu from it each season. Plans and usage limits for the design tools are listed on the pricing page, and the docs explain the exports in more detail.
Summary
A strong AI-assisted cocktail menu starts with the right structure, a fixed format and accurate copy. Design at print resolution, keep descriptions short, and reuse the same visuals across your menu and social channels. With that workflow, updating your drinks list becomes a quick task rather than a project.
Try it in Lyxvo AI
Describe it in your own words and the design agent starts on the right flow. Free to start.
Related tool: AI menu maker for restaurants and cafés