How to Generate an Onboarding UI Flow From a Written Brief

You can generate an onboarding UI flow from a written brief by describing the users, goals and steps in plain language, then reviewing each generated screen. This guide shows how to write a brief that produces a clear, complete onboarding sequence, and how to build it in Lyxvo AI.
Onboarding is the first real experience a new user has with your product. A good flow gets people to their first useful result quickly, without overwhelming them. The fastest way to get a solid draft is to start with a precise written brief, then let a design agent turn it into screens you can refine.
Why a written brief matters
An AI design agent can only design what it understands. A vague request like "make an onboarding for my app" produces generic screens. A brief that names the user, the goal and the sequence produces a flow you can actually test.
A useful brief answers five questions:
- Who is the user, and what do they already know?
- What is the single outcome onboarding should deliver?
- Which steps are required, and which can be skipped or deferred?
- Where does the flow run (iOS, Android or web)?
- What should happen at the end, and how does the user leave onboarding?
Keep the brief short. Ten to twenty lines is enough. Long briefs often bury the one or two constraints that matter most.
Write the brief step by step
Use this structure. Each line becomes a clear instruction for the design.
- Product and audience: one sentence on what the app does and who uses it.
- Activation goal: the first action that proves value, such as "create the first project".
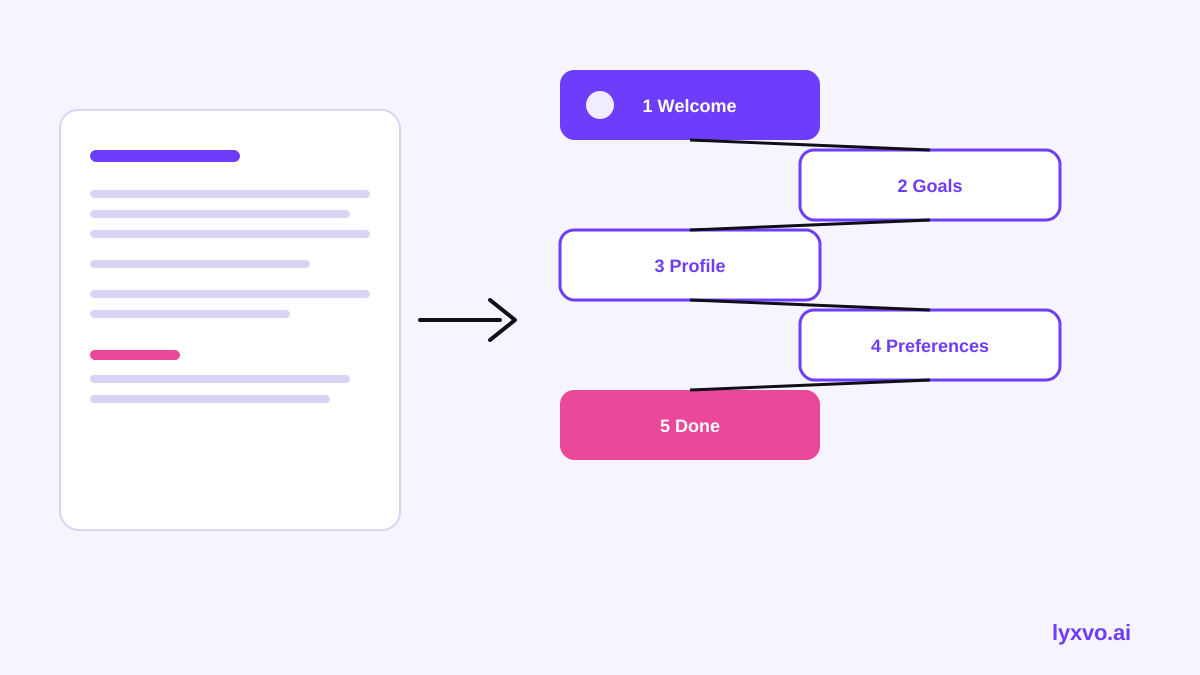
- Screen sequence: a numbered list of steps, in order.
- Required inputs: what the user must enter, and why.
- Optional steps: what can be skipped, with a visible skip control.
- Tone and brand: colors, voice, and any brand kit to follow.
- Platform: iOS, Android or web, and screen sizes.
Example brief
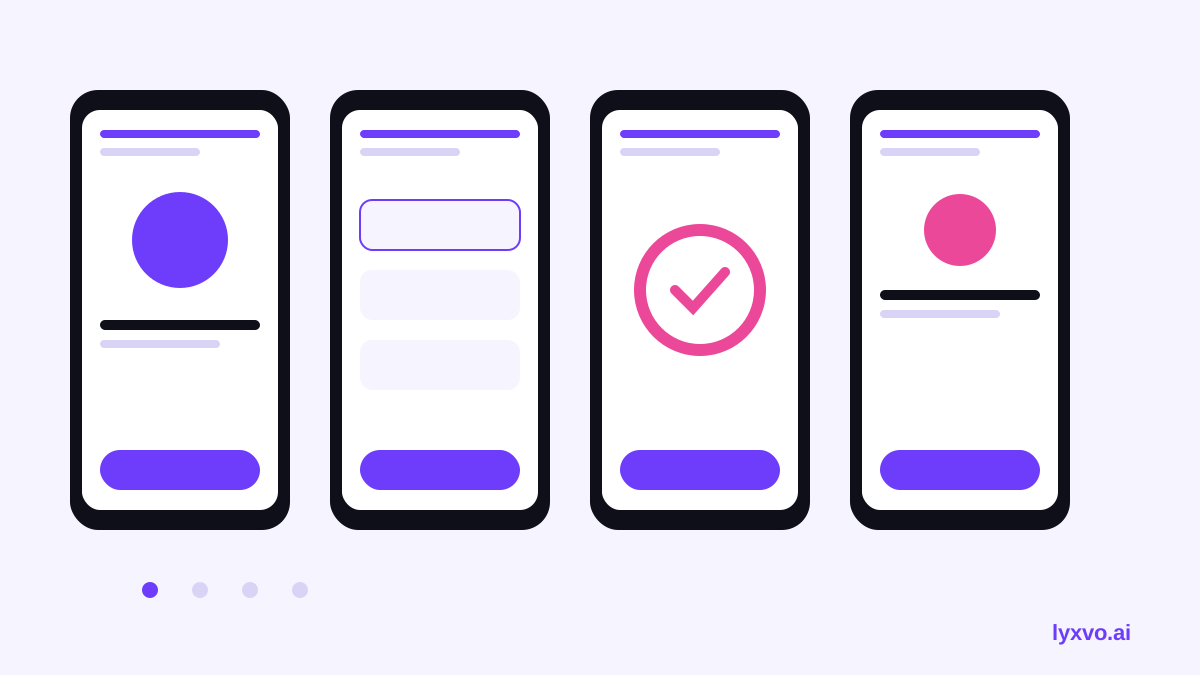
A habit-tracking app for busy adults on iOS. Goal: the user adds their first habit and checks it off once. Flow: (1) welcome with one-line value, (2) pick three goals from a list, (3) choose a daily reminder time with a skip option, (4) add the first habit, (5) show a checked-off success state and a button to open the home screen. Calm, minimal tone, blue and cream palette. Use iOS sizing.
Notice that every screen has a purpose, the required and optional steps are separated, and the end state is defined.
Define the screens before you design
Before generating, check the sequence against three rules:
- Fewer steps wins. Each extra screen costs completions. Merge steps where the user can answer on one screen.
- Ask for permission late. Request notifications or location after the user sees value, and explain why.
- Always show progress. A step indicator or "step 2 of 4" reduces drop-off confusion.
| Step | Purpose | Skippable? |
|---|---|---|
| Welcome | State the value in one line | No |
| Goal picker | Personalize content | Yes |
| Reminder time | Set up retention | Yes |
| First action | Reach activation | No |
| Success state | Confirm the win | No |
Generate the flow in Lyxvo AI
Lyxvo AI's design agent plans the flow first, then designs the screens. To build from your written brief:
- Open the AI app design page and start a new project, or go straight to the studio with the app format.
- Paste your brief into the prompt. Include the platform, the screen order and the tone.
- Review the plan the agent produces. Check that the step count, order and skip options match your brief, and correct any step before generation continues.
- Review the generated screens together. Confirm headings, button labels and the progress indicator on each one.
- Edit directly in the Canva-style editor: change text, swap photos and adjust colors without regenerating everything.
- Export when ready. Options include PNG at real size, HTML, Flutter, Kotlin Jetpack Compose, and Figma (SVG and tokens) for handoff.
If the flow needs an app icon or brand assets, you can produce those in the same project. For a matching logo and brand kit with every icon size, see the AI logo generator and the app icon generator.
Note: Lyxvo Lite includes a daily limit, so plan your iterations. Generate the full sequence once, then refine individual screens instead of regenerating the whole flow.
Check the flow before you ship
An AI draft is a starting point, not a finished product. Test it with a short checklist:
- Can a new user reach the activation goal in the fewest taps possible?
- Does every required field explain why it is needed?
- Is every optional step clearly skippable?
- Does the success state lead to a real next action?
- Do the copy and labels match your product's terms exactly?
- Does the flow work at the smallest supported screen size?
- Have you run it with at least a few real people who have never seen the app?
If a step fails, change the brief and regenerate only that part. A targeted fix keeps the rest of the design stable.
Common mistakes to avoid
- Writing a feature list instead of a sequence. Describe the order of screens, not a menu of features.
- Forgetting the end state. If the brief does not say what happens last, the flow stops abruptly.
- Mixing platforms. Specify iOS, Android or web once, so screen sizes and patterns stay consistent.
- Overloading the first screen. Keep the welcome screen to one message and one action.
- Skipping the review step. Generated text can sound plausible but not match your product, so always read it.
Iterate with a second brief
After your first flow, write a short follow-up brief for changes: "Shorten step 3 to a single toggle" or "Add a second success state for returning users." Short, specific revisions are faster to review and easier to track than rewriting the whole brief.
When the flow is stable, you can export the screens and hand them to developers. The Flutter and Kotlin Jetpack Compose exports give them a head start on implementation.
Summary
To generate an onboarding UI flow from a written brief, define the user, the activation goal and an ordered list of steps, then mark which steps are optional. Paste that brief into Lyxvo AI, review the plan and screens, refine them in the editor, and export. Keep the flow short, test it with real users and iterate with focused follow-up briefs.
For more on screen design, see the AI UI design generator, or browse free design templates to compare layouts. Plans and limits are listed on the pricing page, and more guides are in the blog.
Try it in Lyxvo AI
Describe it in your own words and the design agent starts on the right flow. Free to start.
Related tool: AI UI design generator for apps and websites
Whole apps and websites are designed with the Lyxvo Engine, rented separately from the design plans; every account can try 2 pages free.