How to Generate a YouTube Thumbnail from a Blog Post Title

You can generate a YouTube thumbnail from a blog post title by pulling out the one idea that makes someone click, then designing a bold, readable image around it. This guide shows you how to do that step by step, from title to exported file.
Why reuse your blog post title for a thumbnail
A blog post title was written for search engines and readers who are already looking for an answer. A thumbnail has to work in a different place: a small rectangle sitting beside dozens of other videos, often viewed on a phone. The good news is that your blog title already contains the promise you want to make. Your job is to compress that promise into a few words and one strong image.
The same title can produce a weak thumbnail or a strong one. A thumbnail that simply repeats a long headline in tiny type will be ignored. A thumbnail that shows the outcome, the contrast or the surprising element will get the click.
Step 1: Pull out the core idea
Take your blog post title and ask three questions:
- What is the single result or takeaway?
- What is the emotional hook (curiosity, speed, savings, fear of a mistake)?
- What visual can show that idea at a glance?
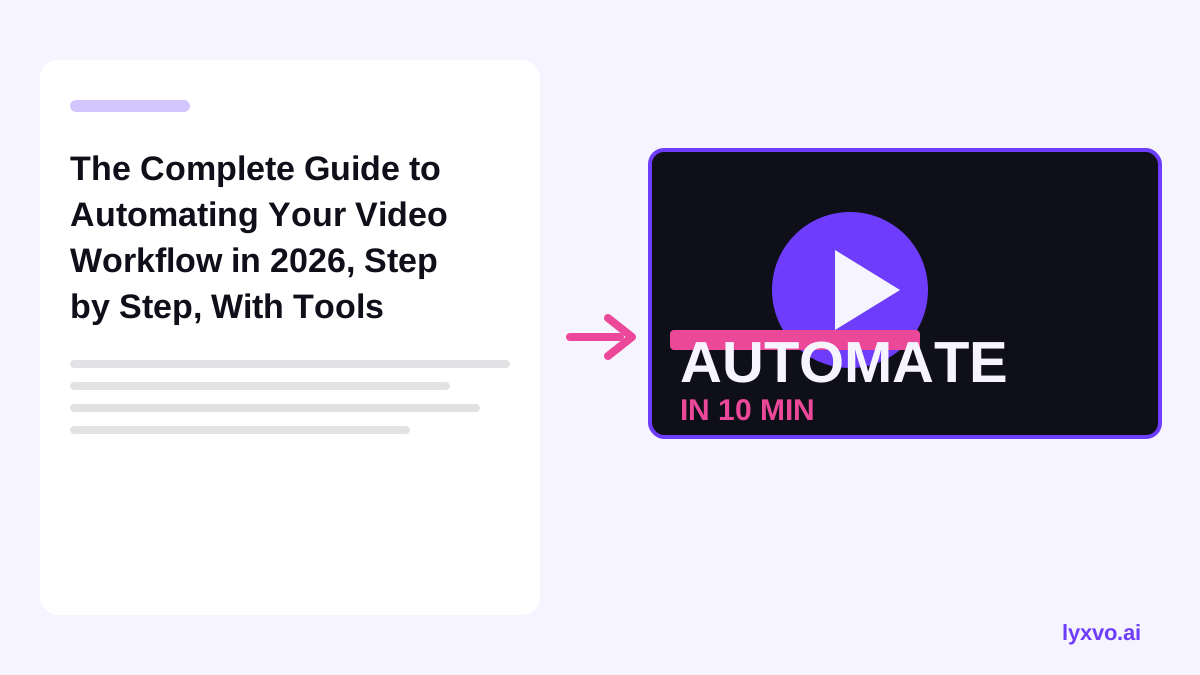
For example, the blog title "How to Create a Monthly Budget Spreadsheet in Excel for Beginners" becomes a thumbnail idea like "Budget in 10 Minutes" with a spreadsheet screenshot and an arrow pointing to a clean total.
Shorten the text
Aim for three to six words on the thumbnail. Remove filler such as "how to", "the complete guide" and "step by step" unless one of them is the hook. Put the most important word in the largest size.
Step 2: Choose the right size and format
YouTube thumbnails should be built at the standard 1280 x 720 pixels (16:9 aspect ratio) and saved as JPG or PNG under the file size limit YouTube sets. Design at this exact size so the text and faces stay sharp and centered.
Keep the important content in the middle. YouTube displays thumbnails at several sizes, and the corners are often covered by the video duration label.
| Element | Where to place it |
|---|---|
| Main text | Left or center third, large type |
| Face or object | Right third, clearly visible |
| Accent shape or arrow | Pointing toward the key element |
| Bottom-right corner | Keep free of critical content |
Step 3: Design for readability on a small screen
Most viewers see your thumbnail at a fraction of its full size. Use these habits to keep it readable:
- Use high contrast. Bright text on dark backgrounds, or the reverse, reads fastest.
- Limit colors. Two or three colors, plus one accent for the key word.
- Use bold sans-serif fonts with thick strokes.
- Simplify the background. Blur or darken busy areas behind the text.
- Test it small. Shrink your design to around 160 pixels wide. If you cannot read the words, make them bigger or cut them.
Common mistakes to avoid
- Copying the entire blog title as the thumbnail text.
- Using several competing focal points.
- Choosing thin or script fonts that disappear at small sizes.
- Adding a face that is too small to show expression.
Step 4: Generate the design in Lyxvo AI
Lyxvo AI can create the thumbnail from your title and then let you refine it. Here is the workflow:
- Open the YouTube thumbnail maker or go straight to the studio with the YouTube thumbnail format.
- Describe the idea in one line, using the short phrase you extracted in Step 1, for example: "budget spreadsheet in 10 minutes, bold yellow text, clean spreadsheet screenshot on the right."
- Review the generated layout. The design agent plans the composition first, then produces the screen at the thumbnail size.
- Edit directly in the Canva-style editor: change the text, swap photos, adjust colors and move elements until the hierarchy is clear.
- Use Magic Resize if you also need a version for other platforms from the same design.
- Export as PNG at real size, ready to upload to YouTube.
You can also translate the text into another language with the translate feature if your blog has an international audience.
Step 5: Check your thumbnail before publishing
Run through this checklist before you upload:
- [ ] The image is 1280 x 720 pixels.
- [ ] The main message is readable at thumbnail size.
- [ ] The text is three to six words.
- [ ] The thumbnail matches the video content (misleading thumbnails hurt trust).
- [ ] There is one clear focal point.
- [ ] The file is under YouTube's size limit.
Step 6: Test variations
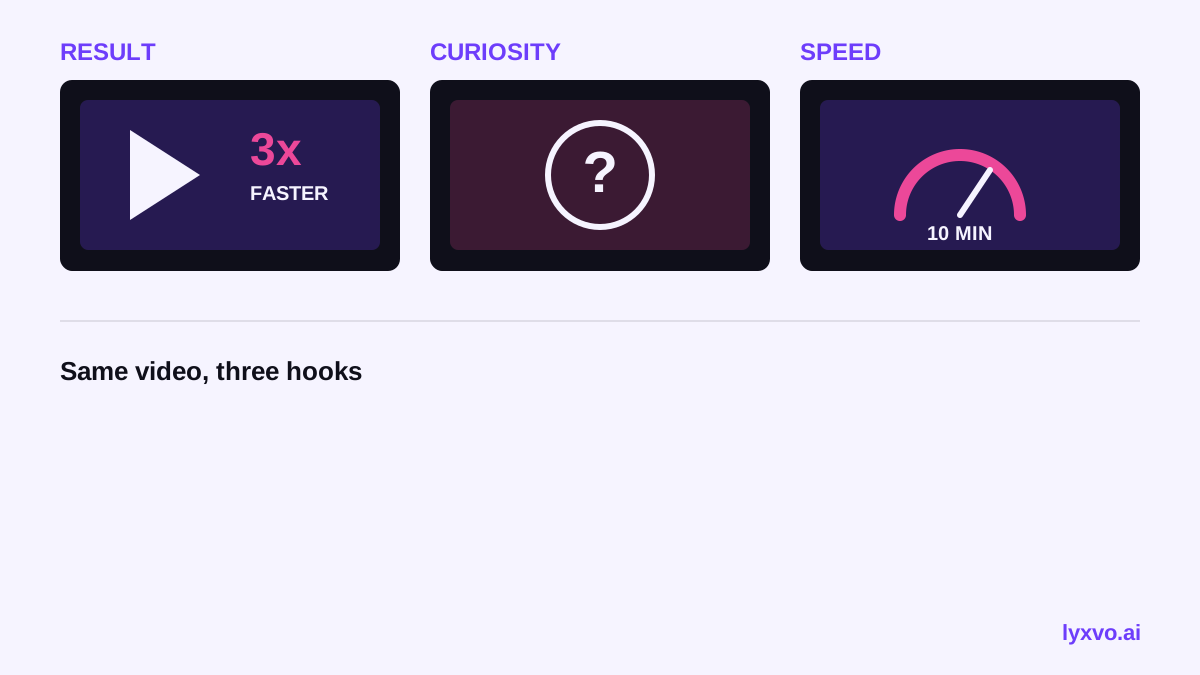
Create two or three versions with different hooks: one focused on the result, one on curiosity, one on speed. Upload them to your channel and compare click-through rates in YouTube Studio over a few days. Keep the version that performs best and apply the same pattern to future posts.
Make it a repeatable workflow
If you publish a blog post and a video on the same topic, turn the process into a template. Keep your fonts, colors and layout consistent across videos so viewers recognize your channel at a glance. You can start from a ready-made layout in free design templates and adjust it for each new title.
If you also need social images for the same post, the AI social media post generator can produce matching graphics at the exact sizes each platform needs.
Summary
To generate a YouTube thumbnail from a blog post title, extract one clear idea, shorten it to a few bold words, design at 1280 x 720 with strong contrast, check it at small size, and test two or three hooks. Lyxvo AI can take you from title to exported PNG in one workflow, so you spend your time on the message instead of the layout.
Try it in Lyxvo AI
Describe it in your own words and the design agent starts on the right flow. Free to start.
Related tool: AI YouTube thumbnail maker