Logo with Vector SVG for Laser Cutting Business: A Practical Guide
A logo with vector SVG for laser cutting business needs more than a nice look on screen: it must be built from clean paths the machine can read. This guide walks through what a laser-ready logo file requires, how to prepare it, and how to check it before you cut. Whether you engrave wood, acrylic, leather or metal, the same principles apply. Get the geometry right at the start and the cut will be clean, fast and repeatable.
Why laser cutting needs vector files
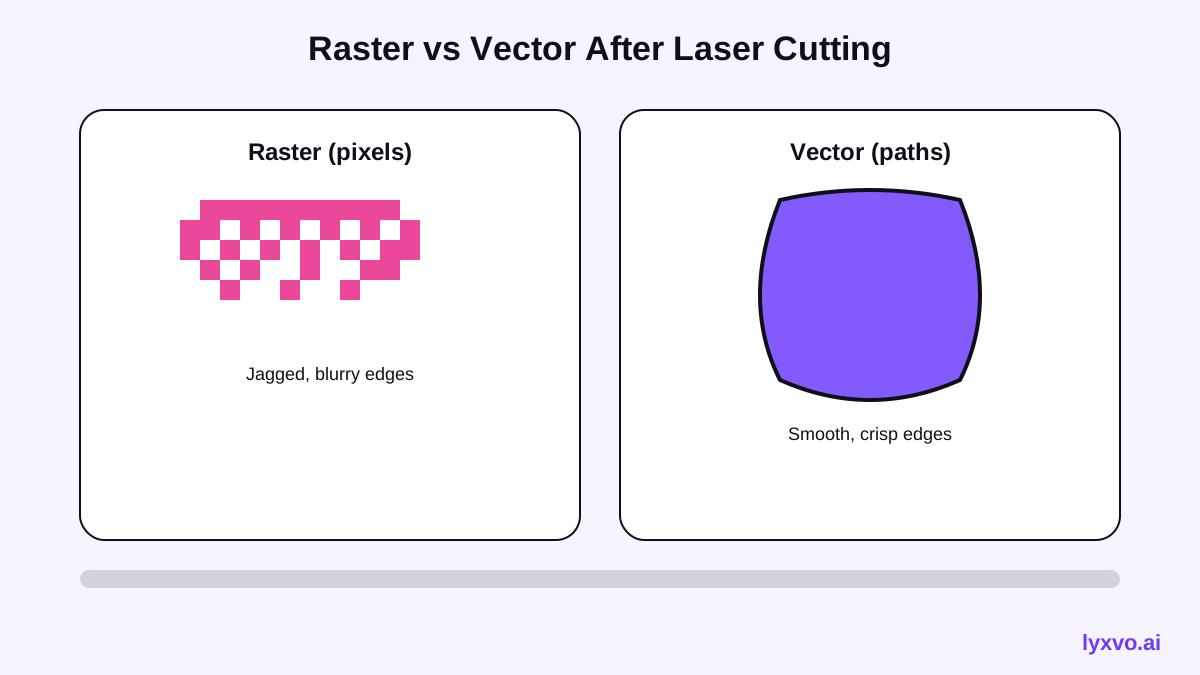
A laser follows paths, not pixels. A PNG or JPG is a grid of colored dots, so the machine has to guess where the edges are, often producing jagged or blurry results. A vector SVG stores each shape as mathematical curves and straight lines, so the laser traces exact outlines at any size.
For most laser workflows, the vector file is what your cutting software imports. Raster images can still be used for engraving photos, but a logo meant to be cut out or outlined should always start as vector.
What a laser-ready logo file must have
Before you design, know the rules your machine and software expect. The most common requirements are:
- Closed paths for every shape you want cut or engraved
- Real vector lines, not raster images placed inside the file
- No stray points or duplicate lines stacked on top of each other
- Text converted to outlines, so the font does not change on another computer
- Actual size set in the file, so 50 mm on screen is 50 mm on the bed
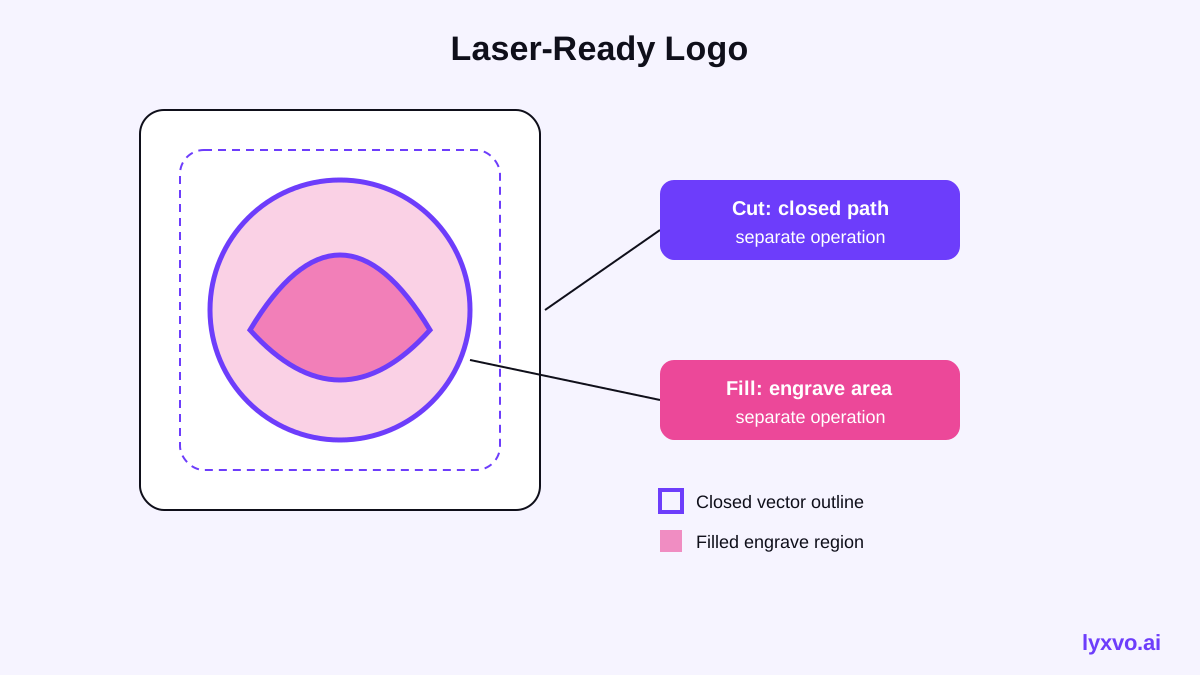
- Separate colors or layers for cut, score and engrave operations
Many laser programs read color or layer names to decide the operation. A common convention is a thin red line for cut and a filled black area for engrave, but confirm the setting in your own software first.
Step by step: prepare a logo for laser cutting
1. Design at real size
Set your canvas to the physical dimensions of the finished piece, in millimeters. Designing at real size prevents surprises when the file is scaled on the cutter.
2. Keep line weights practical
Very thin hairlines may burn inconsistently, and tiny gaps between shapes can disappear. As a rule of thumb, keep cut lines and small details large enough to survive your material and laser power, then run a test.
3. Convert text and clean up nodes
Convert all text to outlines (paths). Then remove unnecessary anchor points and check that curves are smooth. Fewer, cleaner nodes make the cut faster and more accurate.
4. Separate cut from engrave
Keep the outline that goes all the way through the material on a separate color or layer from the decorative engraving. This avoids burning through by accident.
5. Export as SVG
Save or export as SVG, with the document units and size matching your plan. Then reopen the file in your laser software to confirm the dimensions.
Quick checklist before you cut
| Check | Why it matters |
|---|---|
| All shapes are closed paths | Open paths may not cut or may cut wrong |
| Text is outlined | Fonts can change between machines |
| Size is in mm and correct | Prevents wrong-size output |
| Cut and engrave are separated | Avoids unwanted cuts |
| No hidden raster images | Keeps edges sharp |
| Test cut on scrap material | Confirms power and speed settings |
Designing your laser logo in Lyxvo AI
You can start in Lyxvo AI's logo tool. Describe your business and style, then review the generated logo and refine it in the editor. The AI logo generator is a good starting point, and you can open the logo studio directly at /design/?format=logo.
For a laser project, focus on:
- Setting the design to your real size before you finalize the layout
- Editing text and colors directly, then checking that the shapes are simple enough to cut
- Exporting to SVG so your laser software can read the vector paths
Lyxvo AI can export SVG along with PNG, HTML, Figma and other formats. Always open the exported SVG in your laser software and verify the size and paths yourself, because each machine and program handles files slightly differently.
Common mistakes to avoid
- Using a PNG exported at low resolution and expecting smooth cuts
- Forgetting to outline fonts, which causes a different look on another computer
- Leaving hidden shapes that the laser will cut anyway
- Skipping a test cut, which can waste expensive material
- Designing too small, so details disappear when burned
Next steps for your business
Once your logo file is ready, you can reuse the same vector for signage, packaging, stickers and product tags. Keep a master SVG and export variations for each material. If you also need matching social graphics or a business card, the AI business card maker can help you keep the brand consistent.
For more design help, browse the free design templates, and check pricing to choose a plan that fits your workload.
Try it in Lyxvo AI
Describe it in your own words and the design agent starts on the right flow. Free to start.
Related tool: AI logo generator with a complete brand kit