Printable Storyboard Template with Camera Angle Notes
A printable storyboard template with camera angle notes lets you plan every shot on paper before you roll a camera. This guide shows you what to include in the frame, how to label camera angles so anyone on your crew can read them, and how to make and print a clean template.
Why a storyboard needs camera angle notes
A storyboard is a row of drawn frames that shows what the audience will see, shot by shot. Pictures alone leave gaps. Two drawings of the same person can mean a close-up or a wide shot, and a crew can read them differently. Camera angle notes close that gap by stating the framing, the height, and the movement next to each frame.
Printed templates still matter. They are easy to carry on set, easy to mark up in a meeting, and easy to share with clients who do not use editing software. A good template gives every panel the same structure, so the notes stay consistent from scene to scene.
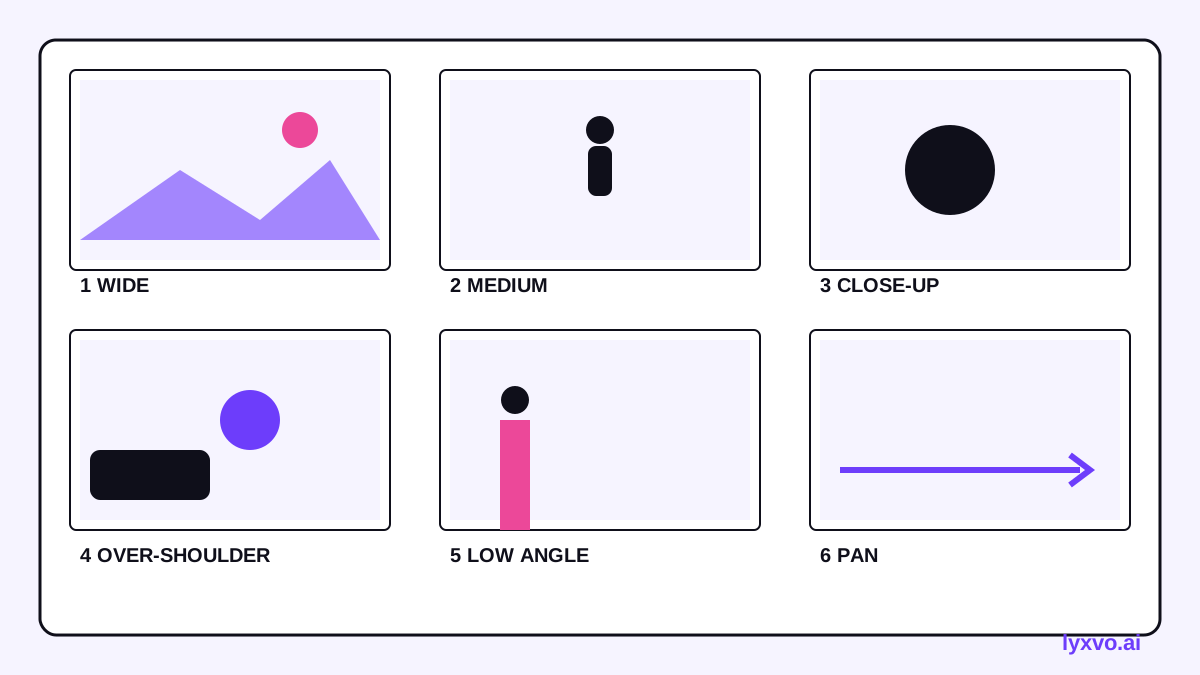
What to include in every panel
Keep each panel to the same fields. Consistency is what makes a printed template useful.
- Shot number and scene number, so you can cross-reference your shot list.
- Frame sketch, a simple drawing of the composition, with a 16:9 or your delivery ratio marked on the page.
- Shot size: extreme wide, wide, medium, medium close-up, close-up, extreme close-up.
- Camera angle: eye level, high angle, low angle, bird's eye, worm's eye, or Dutch (tilted).
- Camera movement: static, pan, tilt, dolly, track, zoom, handheld.
- Action and dialogue, one or two lines.
- Duration in seconds, so you can estimate runtime.
- Notes, for lens choice, lighting, or sound.
Camera angle and shot notation
Use the same short labels on every page. A simple shorthand helps readers scan quickly:
| Label | Meaning | Typical use |
|---|---|---|
| EWS | Extreme wide shot | Establishing a location |
| WS | Wide shot | Showing a full body and surroundings |
| MS | Medium shot | Waist up, conversation |
| CU | Close-up | Face or object detail |
| ECU | Extreme close-up | Eyes, hands, a small detail |
| EL | Eye level | Neutral, relatable framing |
| HA | High angle | Looking down, making a subject seem small |
| LA | Low angle | Looking up, adding power or threat |
| Pan / Dolly In | Camera movement | Revealing or drawing attention |
Write the shot size first, then the angle, then the movement, for example: "MS, EL, slow dolly in." Use the same order on every panel.
Step-by-step: build the template
- Choose the page layout. Most people use six panels per landscape page, or four for more detail. Leave room under each frame for notes.
- Draw the frame boundaries with your delivery aspect ratio. Keep the same proportion in every panel so the sketches feel consistent.
- Add a note block under each frame with lines for shot size, angle, movement, action, dialogue, and duration.
- Add header fields: project title, scene, page number, date, and version.
- Test one page. Fill in three shots and check whether the notes are readable at a glance. Adjust the spacing if they feel cramped.
- Export or print. Save as a PDF at a standard paper size and print in black and white, so the sketches stay clear when photocopied.
Print-ready checklist
- Standard page size selected (A4 or US Letter) with margins that suit your printer.
- Frames have consistent proportions and clear borders.
- Notes fields are large enough to handwrite.
- Shot labels follow one notation throughout.
- Page numbers and project title appear on every sheet.
- A test print has been checked by someone who was not involved in designing it.
Example: a two-person dialogue scene
Scene 3, shot 1: an establishing wide shot of a kitchen, EWS, EL, static, 4 seconds. Shot 2: a medium shot of the first character at the counter, MS, EL, static, 5 seconds, with the line of dialogue written underneath. Shot 3: a close-up on the second character's hands gripping a mug, CU, LA, slow tilt up, 3 seconds. Each panel answers the same questions, so a crew member can understand the scene without a briefing.
Making the template in Lyxvo AI
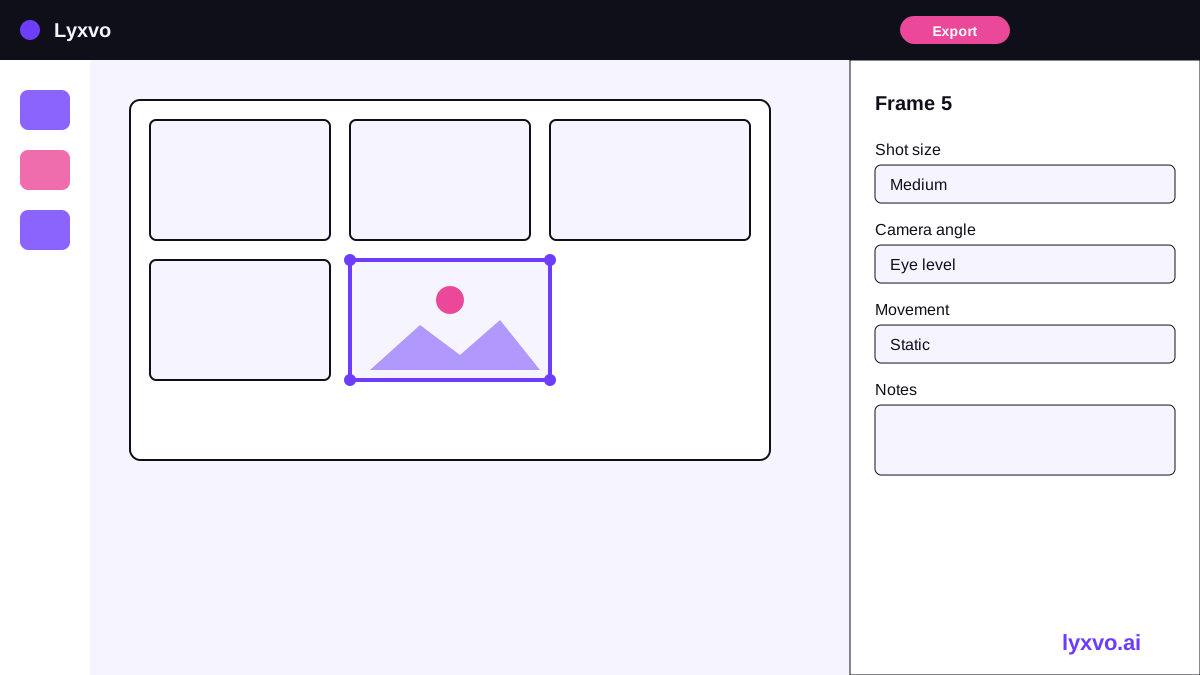
You can create a storyboard layout with the Lyxvo AI design agent and then edit it in the Canva-style editor. Describe the page you want, such as a six-panel landscape storyboard with angle and movement fields, and the agent plans and builds the layout. You can then change text, colors, and frame sizes directly on the page, and export a PNG at real size or a print-ready file at 300 dpi for printing. If you prefer to start from a base, browse the free design templates and adapt one. For a dedicated starting point, see the AI storyboard generator.
Lyxvo Lite includes a daily limit, so check pricing if you plan to produce many pages in one day.
Tips for a more useful printed storyboard
- Keep one idea per panel. If a shot needs three angle changes, split it into three panels.
- Mark continuity points, such as where a prop sits, so the next shot matches.
- Print a clean master and keep it unannotated, so you can reprint copies for revisions.
- Use the same template for all projects in your studio so every crew member learns one format.
Summary
A printable storyboard template with camera angle notes works best when every panel carries the same fields: shot size, angle, movement, action, dialogue, and duration, all labeled with one shorthand. Build the layout once, test a page, and print at a standard size. For a quick start, try the AI presentation maker for pitch slides that pair with your storyboard, or open the storyboard tools to get your first page on paper today.
Try it in Lyxvo AI
Describe it in your own words and the design agent starts on the right flow. Free to start.
Related tool: AI storyboard generator for ads and short videos