Turn a Blog Link into Social Media Graphics Automatically
Turning a blog link into social media graphics automatically means taking one article and producing a set of platform-ready visuals from it without designing each one by hand. This guide walks through a practical workflow you can repeat for every post you publish.
Why one blog post should become many graphics
A single article usually contains a headline, a key statistic or tip, a quote, and a call to action. Each of those can become a visual for a different channel. The problem is time: resizing, rewriting and re-laying out the same content for Instagram, LinkedIn, X and Pinterest takes hours, and most teams skip it.
Automating the process means you decide the message once, then let a design tool adapt it to each format. The result is more consistent posting and less last-minute scrambling.
The workflow at a glance
- Pick the article and extract the core message.
- Choose the formats you actually publish to.
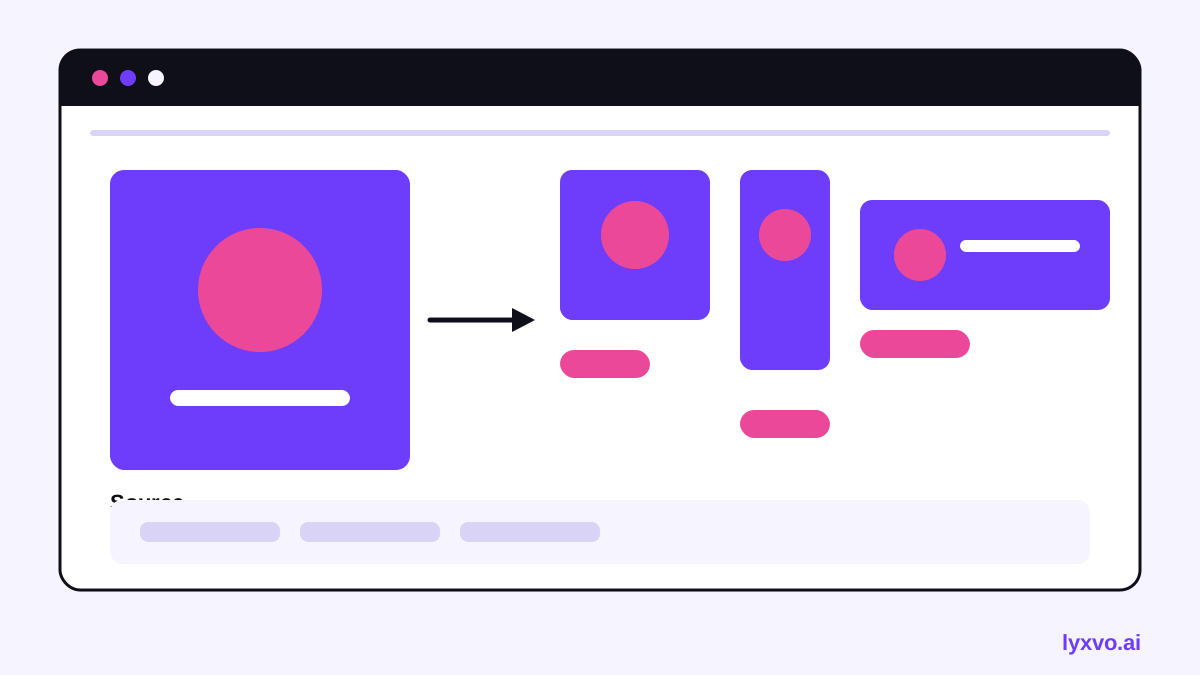
- Generate a design for each format, with the right dimensions.
- Check text, brand colors and links.
- Export, schedule and track what performs.
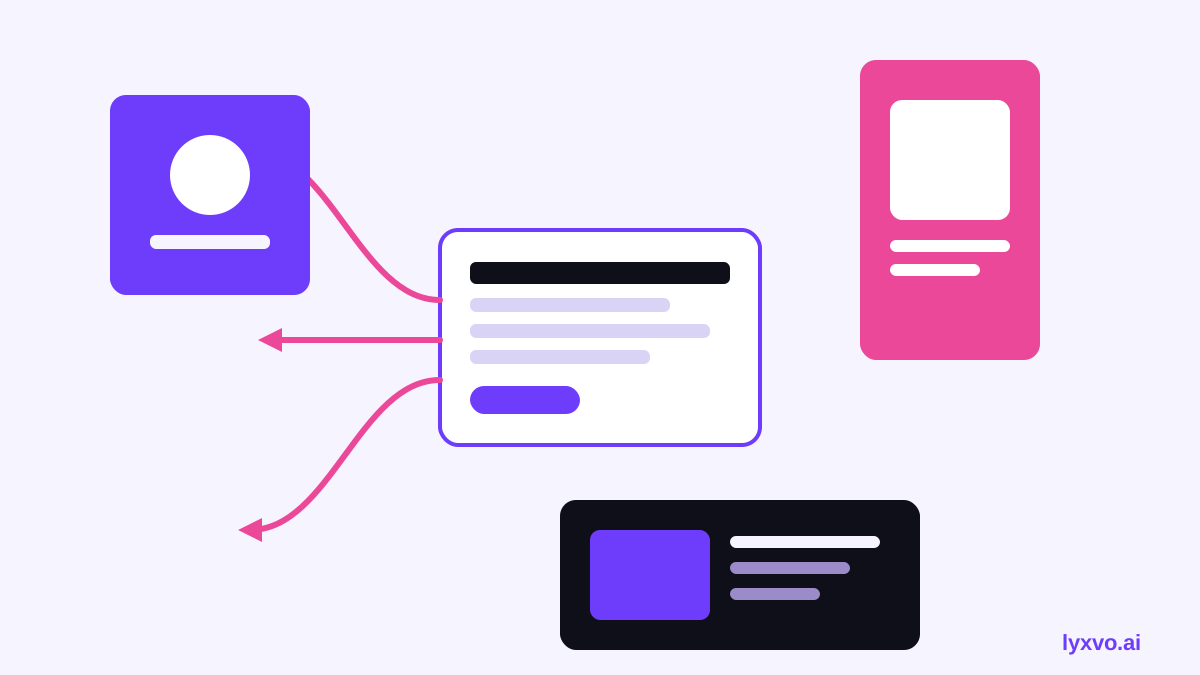
Step 1: Extract the message, not the whole article
Social graphics work best with one idea each. Read your post and pull out:
- A headline hook of 6 to 10 words.
- One supporting point such as a tip, number or short finding from the text.
- A takeaway or question that invites a click.
- The link or call to action, shortened if needed.
If your article has seven tips, make seven graphics, each with one tip, rather than cramming all seven into one image.
Step 2: Match formats to each platform
Each platform expects different dimensions, and cropping a square into a vertical story usually cuts off text. Build your list before you design.
| Platform | Common format | Typical use from a blog post |
|---|---|---|
| Instagram feed | Square or portrait post | Quote card or tip |
| Instagram Stories | Vertical | Teaser with swipe-up link sticker |
| Landscape or square | Key insight with a question | |
| Landscape | Article preview image | |
| X | Landscape | Short stat or hook |
| Tall vertical | Infographic-style summary | |
| YouTube | Thumbnail ratio | Cover for a related video |
Platform sizes change from time to time, so confirm the current recommendations in each app before a big campaign. Treat this table as a starting point, not a fixed rule.
Keep a saved template for each format. Once you have one that works, every new post only needs new text and a new image.
Step 3: Keep the design system consistent
Automated graphics still need to look like your brand. Decide in advance:
- Two or three brand colors and one accent.
- One heading font and one body font.
- A logo position and clear space around it.
- A consistent layout, such as headline at the top and link at the bottom.
When the rules are fixed, the variations you generate will feel like one family.
Step 4: How to do it in Lyxvo AI
Lyxvo AI can take you from article idea to finished social graphics in one place. Here is how to run the workflow:
- Open the social media post generator and describe the blog post's core message, audience and tone.
- Pick the sizes you need. Lyxvo AI produces social media posts at exact sizes for Instagram, TikTok, Facebook, YouTube, X, LinkedIn, Pinterest, WhatsApp and Threads.
- For vertical teasers, open the Instagram Story format in the studio and adapt the same message.
- Use the Canva-style editor to change headlines, photos and colors directly so the graphics match your brand.
- Use Magic Resize to adapt a finished design to another platform's size instead of starting over.
- Translate the text if you publish in more than one language.
- Export PNG at real size for each platform.
If your blog post includes a video segment, Lyxvo AI also supports design to video, so one article can feed a short clip too.
Step 5: Check before you publish
Before you schedule anything, run a quick review:
- Is the headline readable at phone size?
- Does each graphic make one clear point?
- Is the link or call to action present and correct?
- Does the text stay clear of platform UI areas like profile icons and captions?
- Are colors and logo consistent with your brand kit?
Common mistakes to avoid
- Copying the whole article onto one image. Readers will not read it.
- Ignoring safe zones in vertical formats.
- Forgetting alt text and accessibility contrast.
- Publishing the same image everywhere without adjusting copy for each audience.
Step 6: Repeat and measure
Once the process runs smoothly, make it a standard step after each blog post goes live. Track which graphics drive clicks back to the article, then reuse the formats and layouts that perform best. For more ideas, browse the Lyxvo AI blog and the free design templates to speed up future posts.
Summary
To turn a blog link into social media graphics automatically, extract one message per graphic, match formats to each platform, keep your brand system fixed, and use a tool that can generate and resize designs for you. With a repeatable workflow, one article can feed a full week of posts.
Frequently asked questions
Do I need design skills? No. A template-based workflow with a clear brand system is enough for most blog promotion.
How many graphics should one post create? Three to six is a practical range, one per key point, plus a teaser for stories.
Can I start for free? Yes. Lyxvo Lite offers a free daily allowance, and you can compare plans on the pricing page.
Try it in Lyxvo AI
Describe it in your own words and the design agent starts on the right flow. Free to start.
Related tool: AI social media post generator for every network