YouTube Thumbnail with Face Cutout for Cooking Tutorials
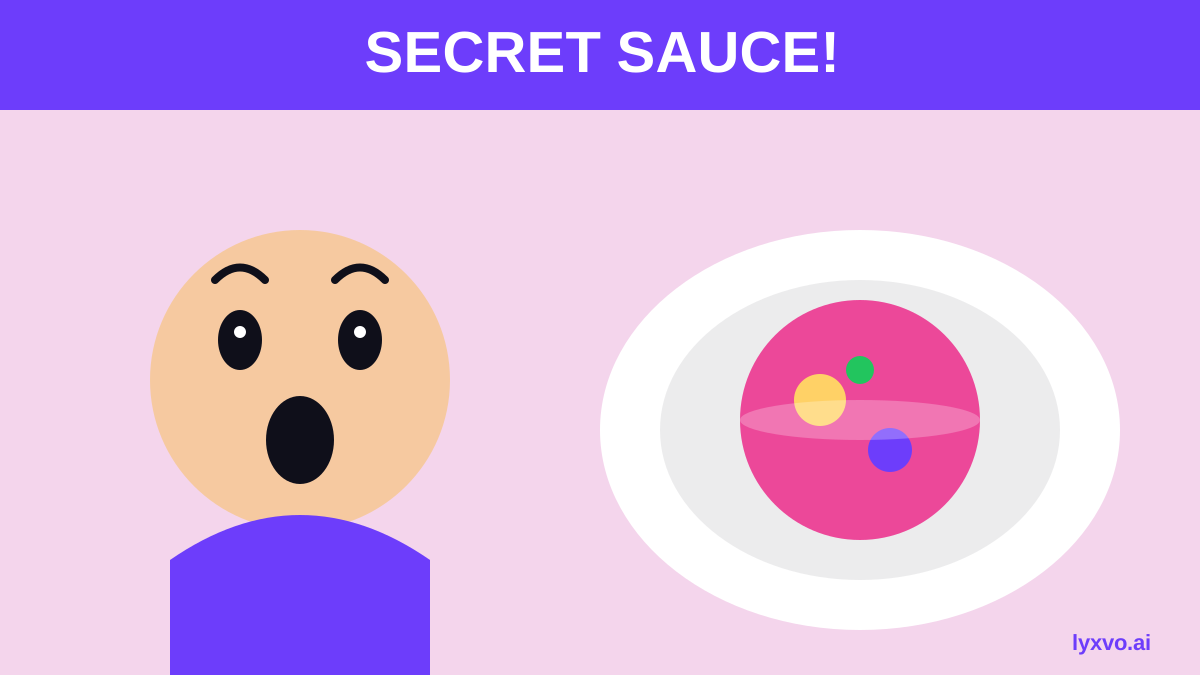
A YouTube thumbnail with a face cutout for cooking tutorials pairs your expression with a clear, appetizing dish so viewers understand the video in a glance. This guide shows you how to plan, cut out, layer and check a thumbnail that works at small sizes on phones.
Why a face cutout works for cooking videos
In a cooking tutorial, the dish is the promise and your face is the trust. A cutout lets you place your expression next to the food without the cluttered background of a kitchen photo. The result looks clean in the sidebar, where most thumbnails are seen at a fraction of their full size.
A good cutout thumbnail usually has three parts:
- A readable expression (surprise, delight, or focus) that is visible at 160 pixels wide.
- One hero food item shown large, with a clear shape such as a sliced cake, a seared steak or a bowl of ramen.
- Two or three words that name the recipe or the promise, like "5-MIN PASTA" or "NO OVEN".
Keep everything else out. Busy kitchens, multiple dishes and small text turn into noise on mobile.
Before you design: plan the thumbnail
Take two minutes to decide the message before you open any editor.
- Write the promise in one line. For example: "Crispy chicken in 20 minutes."
- Pick the emotion. Excited for fast recipes, calm for slow-cook videos, shocked for a mistake or a surprising result.
- Choose the hero food. Use the most photogenic moment, often the final plate or the cut-open shot.
- Decide the text. Maximum three to four words, in a font you can read on a phone.
Tip: Shoot a few frames of your face with the same lighting as the dish. Matching light makes the cutout look natural.
Shooting and choosing source photos
For the face, use a sharp shot with clear edges around the hair and shoulders. Avoid heavy steam, hands over the face and motion blur. A plain wall or window light behind you makes the cutout easier.
For the food, shoot close with shallow depth of field. Warm side light shows texture: crumbs, glaze, bubbles. Take the photo at a high resolution so it stays sharp on a 1280 by 720 frame.
Step-by-step: build the thumbnail
1. Set the canvas
Use 1280 by 720 pixels, the standard YouTube thumbnail size, with a 16:9 layout. Keep key content at least 60 pixels from the edges, because timestamps can overlap the lower-right corner.
2. Cut out the face
Remove the background from your portrait. Refine the edges around hair, because a hard, halo-like edge looks fake. Keep the cutout slightly larger than the face so the head is not squeezed.
3. Place the hero food
Put the dish on the right or center, large enough to fill about half the frame. Your face goes on the left so the eye moves from the person to the food.
4. Add contrast and color
Use a bold background color that contrasts with the food. Warm dishes look best against cool blues, teals or deep greens. Warm yellow or red backgrounds can blend into food shots, so test before committing.
5. Write the text
Use thick, sans-serif type with a dark outline or shadow. Place it in open space, not over the face. Use no more than two colors for text.
6. Check at small size
Shrink the image to about 160 pixels wide. If you cannot read the words or see the expression, simplify.
Thumbnail checklist
| Element | Target | Why it matters |
|---|---|---|
| Canvas | 1280 x 720 px | Standard YouTube size |
| Face | Large, clear expression | Builds trust and curiosity |
| Food | One hero item, sharp | Shows the result |
| Text | 2 to 4 words, thick font | Readable on mobile |
| Contrast | Food vs background | Makes the dish pop |
| Edges | Clean cutout | Looks professional |
How to make it in Lyxvo AI
You can build this layout in Lyxvo AI with the YouTube thumbnail maker or start directly in the YouTube thumbnail studio. The design agent can plan the composition, and then you can refine it in the Canva-style editor:
- Open the YouTube thumbnail format and describe your recipe, the emotion and the short text you want.
- Upload your face photo and your dish photo. Use the editor to edit text, photos and colors directly.
- Position the cutout and the food so the face sits on one side and the dish on the other.
- Adjust the text size and color until it reads clearly at a small preview.
- Export the thumbnail as a PNG at its real size and upload it in YouTube Studio.
If you also want a matching short-form cover, you can use Magic Resize to adapt the layout, and the social media post generator for teaser posts. Plans and limits are listed on pricing.
Common mistakes to avoid
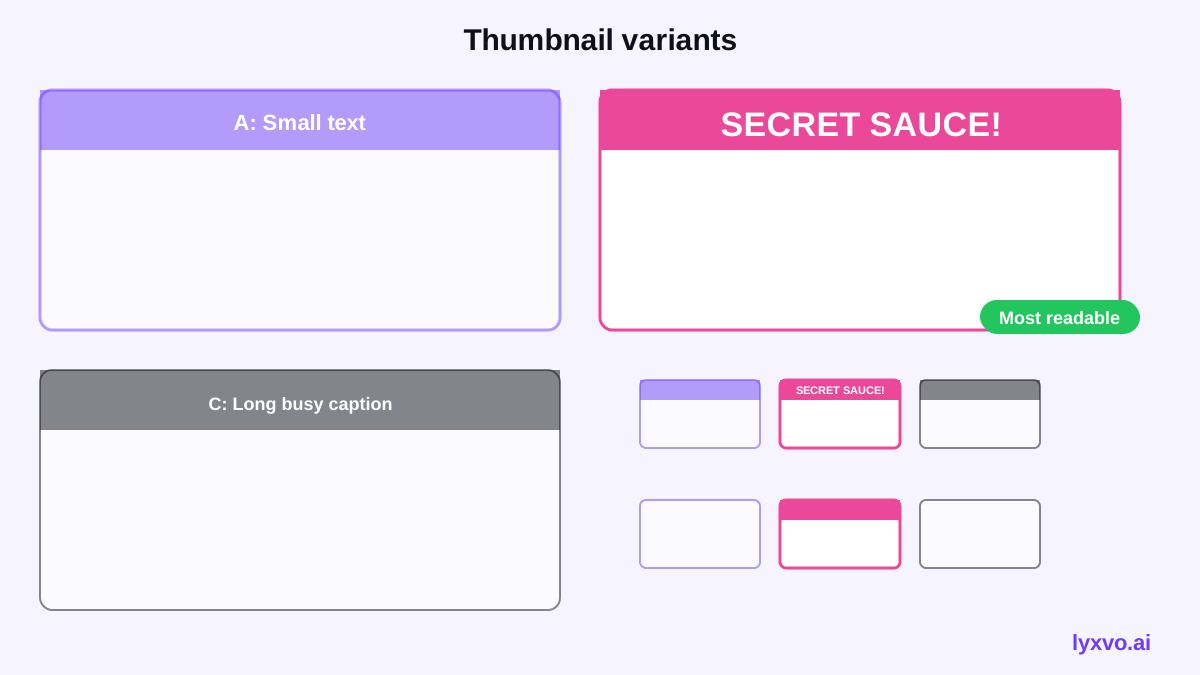
- Too much text. If the title already says the recipe, use the thumbnail for emotion and the key ingredient.
- Cutouts with rough edges. Refine hair and shoulders, or choose a simpler background.
- Food that looks dull. Re-shoot with side light or add a fresh garnish before the shot.
- Clashing colors. Test two or three background options side by side.
- Misleading images. Show the real result. Viewers who feel tricked will not watch the next video.
Testing and improving
YouTube Studio lets you test thumbnails over time. Change one element at a time, such as the expression or the text, so you can see which change matters. Keep notes on what worked for each recipe type, because cooking audiences often respond to similar patterns across a channel.
Summary
A YouTube thumbnail with a face cutout for cooking tutorials works best when the face, the dish and a few words are clear and bold. Plan the promise, shoot matching light, cut out cleanly, check the small size and export at 1280 by 720. With a repeatable template, you can produce consistent thumbnails for every video.
Try it in Lyxvo AI
Describe it in your own words and the design agent starts on the right flow. Free to start.
Related tool: AI YouTube thumbnail maker